Building a custom electric guitar from a DIY kit
We thank you for your attention!

How do I build an electric guitar? How do you easily and beautifully finish the body and front panels of your projects? How can you make conductive graphite paint for shielding from electromagnetic interference? Today, I'll show you how.
Not everyone can draw or carve wood well. I, for one, can't. But here's the good news: you can customize your electric guitar (or almost anything) with decoupage, which is something anyone can do.
Decoupage lets you apply almost any image to a hard surface. You'll need raw Xuan paper, made from rice, which absorbs water well, becomes transparent when soaked with varnish, and stays transparent when dry. This paper comes in rolls and sheets of various sizes.
Print your desired image (which could be an AI-generated one) on this rice paper using a color laser printer. An inkjet printer with water-soluble inks won't work; the image will blur when wet.
Craft stores have a wide variety of ready-made images on rice paper or special decoupage paper (the one that looks like wallpaper but is much thinner).
I used special paper with cheerful magpies on a blooming cherry blossom background, made by the Italian company TO-DO - Colorificio Centrale S.r.l. The sheet has an impressive size of 19.7 by 27.6 inches; you can even use it to decorate furniture.
If you're new to decoupage, I highly recommend using rice paper or special paper instead of just napkins, which are more difficult to work with.
Next, you'll need special decoupage adhesive lacquer or just acrylic lacquer suitable for the surface you're working on. Any glossy or semi-glossy water-based lacquer will do.
Personally, I usually use heavy-duty matte stone lacquer. It's meant for facades and paving slabs and is incredibly resistant to wear, making it perfect for a guitar. It adheres beautifully to wood surfaces or any acrylic primer (if working with metal).
However, with matte lacquer, ensure the image doesn't become blurry when applying multiple layers. Different lacquers have different matting additives. When wet, lacquer is white but turns into a clear film once dry.
My custom electric guitar is built from a Harley-Benton kit. Thomann offers several kit options. This time, I chose the strat style.
Most Harley-Benton electric guitars are cheap and come with cheap components, but the company values its reputation and adds decent-sounding pickups, well-functioning tuners, and other quality parts.
All assembled instruments and DIY kit components undergo quality control before shipping to the customer. So, I'll assemble my guitar using all the kit components, confident that none will fail.
Except for the tremolo system. A decent tremolo costs at least as much as this entire kit. But I don't like vintage six-screw tremolos and don't want to drill holes for a modern two-post one.
So, I'll just install the kit's tremolo and then block it to make myself a hardtail strat. Most buyers of cheap vintage-style tremolo guitars do the same anyway.
The neck of my future electric guitar has a double-action truss rod and is made of Canadian maple with a purpleheart fretboard. It feels like ebony, which is probably why the manufacturers dye the fretboard to make it look like ebony. The dyeing is well executed and does not stain or rub off.

I don't have a jigsaw, so to shape the headstock, I used a hacksaw with a narrow blade and an electric screwdriver with a thin drill bit. I finished it off with some rasping, filing, and sanding with various grit sandpaper.
The fret ends were a pleasant surprise. They're almost perfectly finished and even rounded. Even without lemon oil treatment, the guitar is ready to play right away. Cheap guitars from various manufacturers often come with dried-out fretboards and sharp fret edges.
Moreover, the frets are even polished! It feels like this neck is from a 720guitar, not from a 72 kit (excluding shipping)!
But the front of the body had a noticeable scratch. It seemed like the body had been dropped and scraped against something metal and sharp, probably at customs. The abundance of small parts on the X-ray image might have seemed suspicious to the CBP officer, who opened the box and carelessly dumped the body out of its bubble wrap.

If I were making a guitar to look like natural ash (and the exotic furniture wood rengas, used for Harley-Benton solid body DIY kits, looks like ash from afar and like mahogany up close), this scratch would be upsetting and require a lot of sanding.
But I'm doing decoupage. Moreover, wet sanding revealed that the scratch becomes invisible when wet. So, no worries.
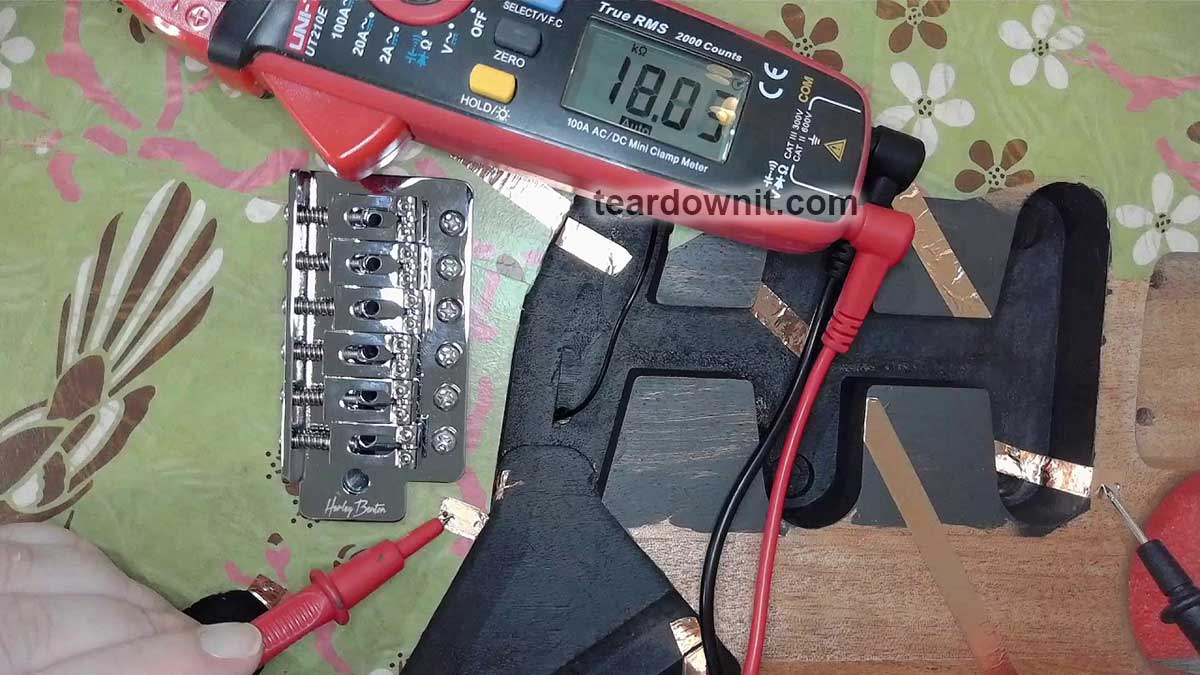
I always start working on the guitar body by shielding the cavities for electronics. I used to use aerosol graphite conductive lacquer.
Now, I make conductive paint myself. I take graphite powder, sold as a dry lock lubricant, put the required amount in a small plastic container, add an equal volume of lacquer, and mix thoroughly. It makes a thick paint that must be used immediately before it dries.
Following online advice, I first tried using clear nail polish. But the one I got had almost no shrinkage when drying. This shrinkage is needed to compress the graphite particles and ensure electrical contact.
My paint had very high resistance and conducted poorly. Also, nail polish emits toxic fumes with a strong smell. I don't like working with such chemicals.
Then I switched to the same acrylic lacquer for facades and paving slabs that I use for finishing wooden boxes and project cases. It makes excellent conductive paint for shielding.
However, for restoring contact tracks in remote controls, car window heaters, and similar items, my homemade paint isn't suitable. These applications require more complex formulas, often containing metal powder, usually silver. Such conductive adhesives are much more expensive and unnecessary for guitar shielding.
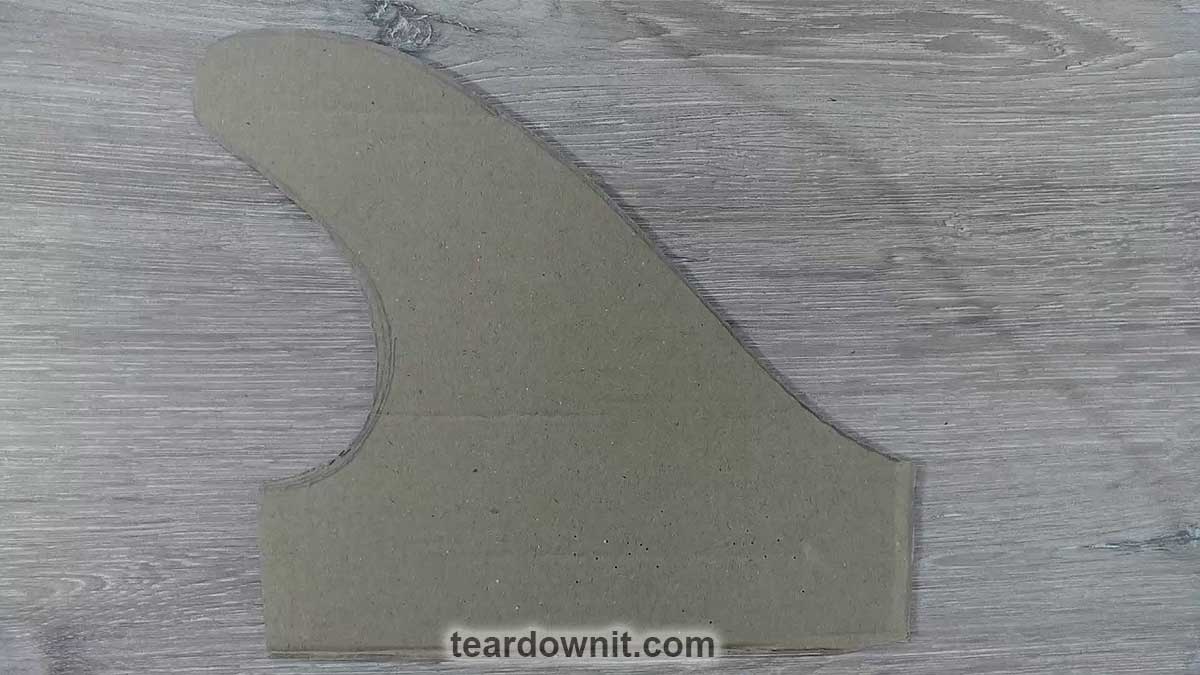
To cut decoupage paper into the desired shapes, I made templates from corrugated cardboard.
To properly soak the decoupage paper with adhesive lacquer and to make it hug all the surface curves, it should be soaked briefly (for a minute). Some people place the paper on a plastic film and spray it with water. I just lay the paper face down on the water surface in a suitably sized tray.
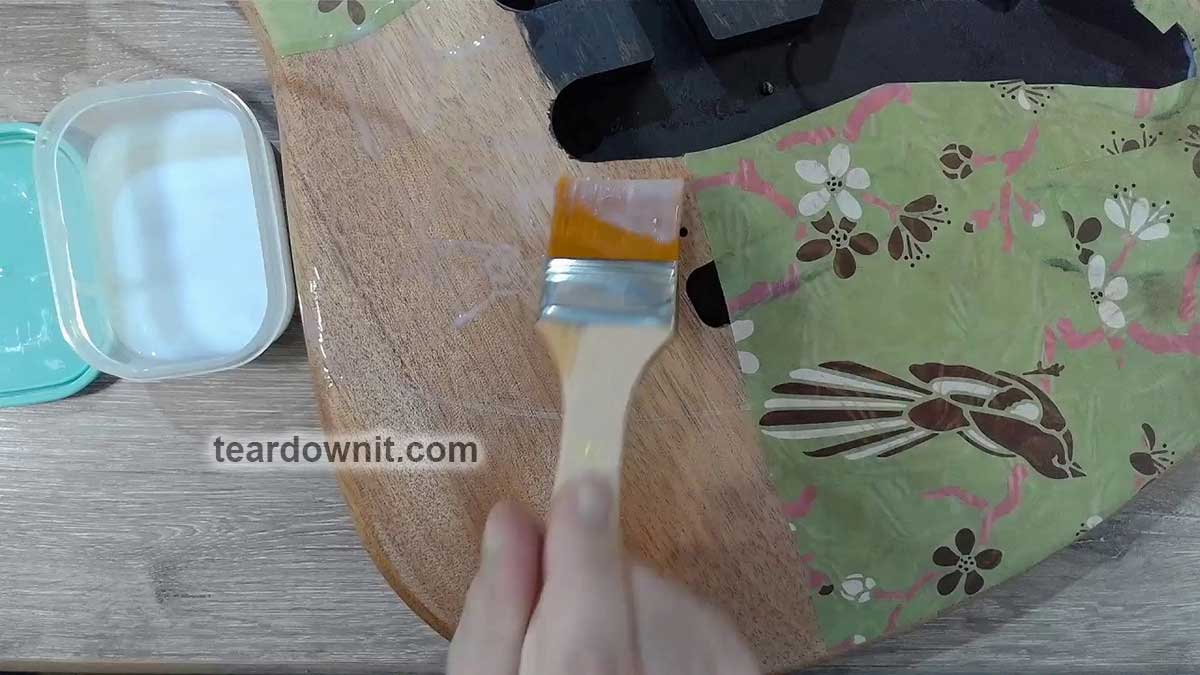
Apply adhesive lacquer to the surface, place the decoupage paper face up, and smooth it out. After drying, apply a layer of the same acrylic lacquer on top. Once dry, add another layer. For my boxes, I usually do four layers, but for the guitar body, I did six.
The back side of the body was also lacquered with a brush the next day. I like brushing lacquer and the brush marks on the finished product. You can do the same or use spray lacquer.
Strat guitars with more than 21 frets have the fretboard extending past the neck, hindering pick-guard installation or removal. So, install the pick-guard with all electronics first, and then the neck.
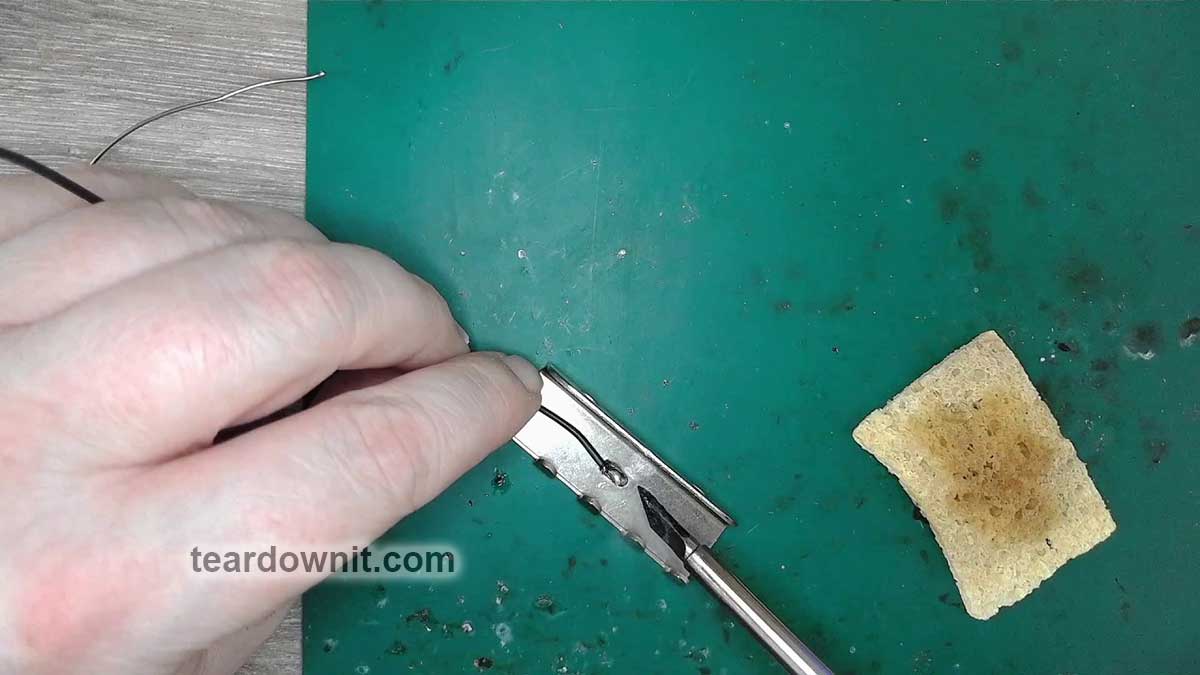
But first, install the bridge, and don't forget to connect the ground wire for the strings.
I cover the insides of pick-guards and electronics compartment covers with self-adhesive copper foil.
Some believe such shielding spoils a Stratocaster's sound. I think shielding can degrade sound only when using vintage wires with cloth insulation. The insulation can absorb moisture from the air around it and become conductive, causing tone loss, which can be worsened by foil shielding.

Finally, attach the neck to the fully loaded body, string it up, and set the string height and intonation.
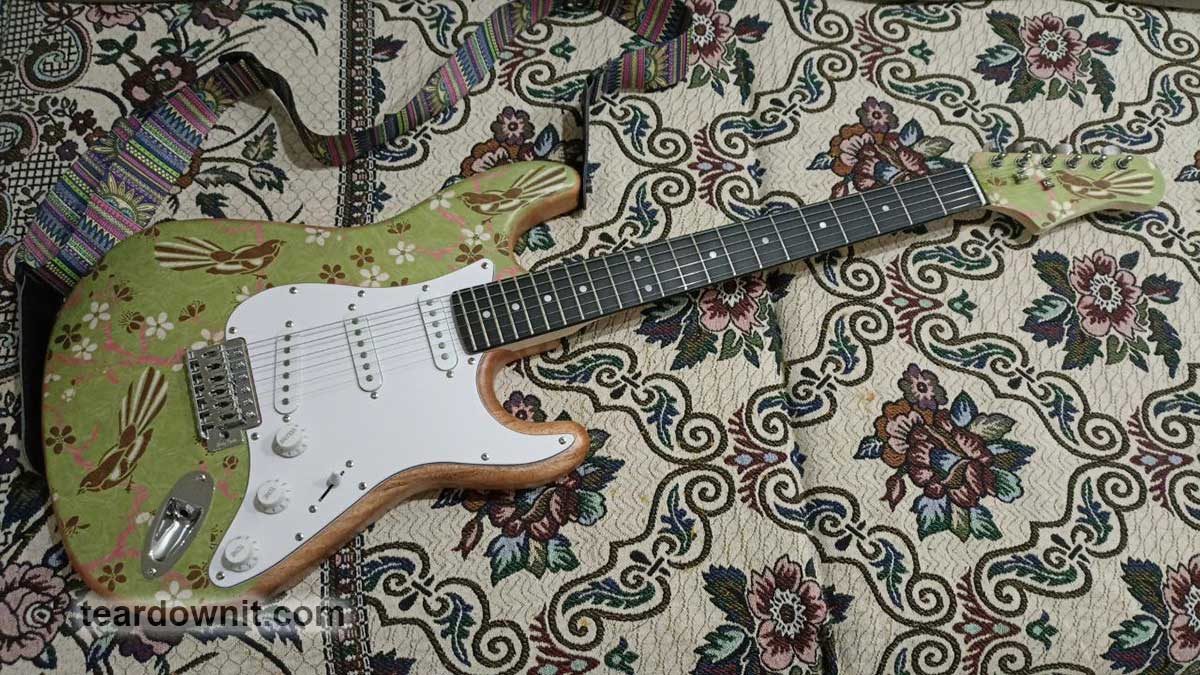
I ended up with a very playable and decent-sounding strat with a matched headstock, and its decoration brings positive vibes. I'm very pleased with the result. You can hear my custom electric guitar and watch the build process in the video below.